Introduction
You’re miles from the trailhead, the wind picks up, and your tent pole snaps — or worse, the rain starts and you notice a tear in the fly. In that moment, knowing how to fix your shelter right there and then can mean the difference between a rough night and a disaster.
Tent damage happens. No matter how durable your gear is, sharp rocks, storms, or even user error can leave you with ripped mesh, broken zippers, or cracked poles. The good news? Most of these problems are fixable — if you’ve got the right tools and know-how.
This comprehensive field tent repair guide covers the most common tent failures and how to deal with them on the trail. From emergency pole splints to patching holes in minutes, here’s what every camper should know before they leave the trailhead.
Common Tent Failures in the Field
Before you can fix a tent, you need to know what typically goes wrong. These are the issues that show up most often — and usually at the worst possible time.
1. Broken or Bent Tent Poles
Often caused by strong winds, accidents during setup, or user fatigue. A cracked pole can make the whole tent unusable unless splinted or replaced.
2. Torn Rainfly or Tent Body Fabric
Sharp branches, pressure from gear, or careless packing can result in small rips — which quickly turn into big ones when tensioned.
3. Leaky Seams
Seam tape can peel over time, or factory sealing can degrade. Rainwater starts to seep through the stitching, especially near corners and floor edges.
4. Zipper Failures
Zippers can separate, stick, or jam due to dirt, bent teeth, or over-tension. A non-closing door can ruin bug protection or lead to rain ingress.
5. Mesh Tears
Delicate mesh can snag on branches, zippers, or even fingernails. Holes in mesh let in bugs and compromise airflow control.
6. Groundsheet Punctures or Floor Damage
Sharp rocks and rough terrain can cut the tent floor, leading to moisture leaks or cold drafts — especially under sleeping pads.

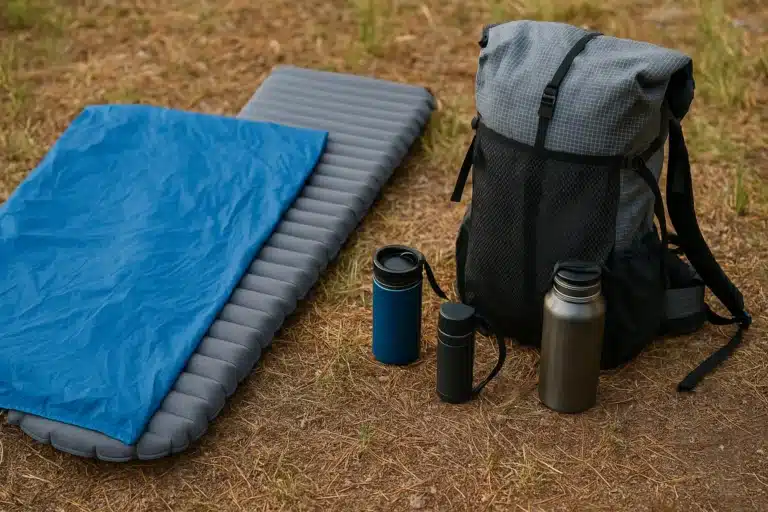
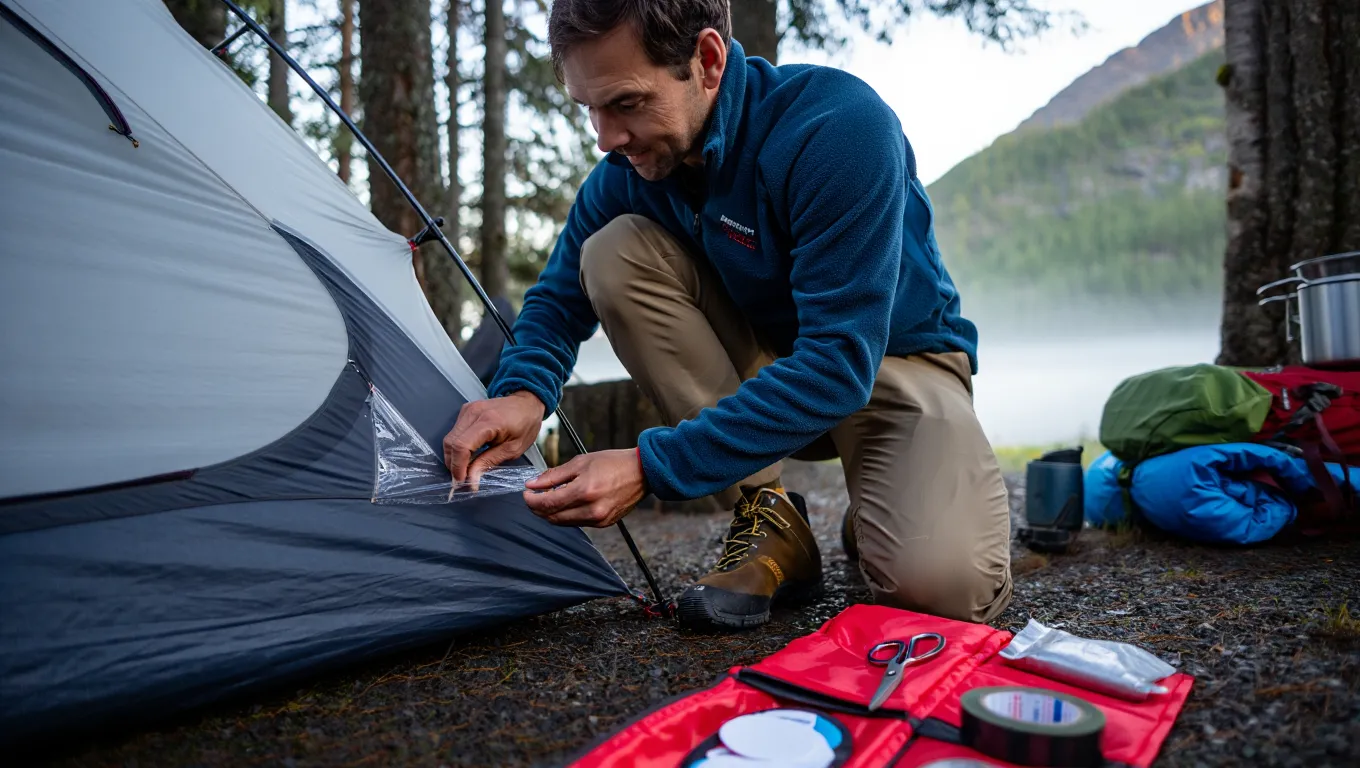
Essential Field Tent Repair Kit
A proper tent repair kit takes up very little space but can save your entire trip. Here’s what you should always have in your gear bin or tucked in your tent stuff sack:
1. Pole Splint (Repair Sleeve)
A small metal sleeve that slides over a cracked or broken tent pole. Lightweight and easy to use in seconds.
Why you need it: Without working poles, your tent can’t stand.
2. Tenacious Tape or Gear Repair Tape
Strong adhesive patching tape that sticks to most tent fabrics — even in wet conditions.
Why you need it: Quickly seals tears in tent body, fly, or floor without sewing.
3. Small Tube of Seam Sealer
For resealing leaking seams or small pinholes. Some versions cure in a few hours; others are fast-drying.
Why you need it: Stops leaks and reinforces vulnerable stitching zones.
4. Spare Zipper Slider and Pull Tab
Zippers often fail because the slider is bent, not because the teeth are broken.
Why you need it: Replacing the slider often restores function without tools.
5. Safety Pins or Sewing Needle + Nylon Thread
For stitching mesh, holding torn corners in place temporarily, or field patching.
Why you need it: Adds structure or holds repairs in place until you’re home.
6. Pre-cut Patches (Mesh + Fabric)
Small swatches of mesh or silnylon/PU-coated fabric with adhesive or to be sewn.
Why you need it: Designed to match tent materials and stop damage from spreading.
7. Small Scissors or Utility Blade
To trim frayed edges, tape, or clean up a tear before applying a patch.
Why you need it: Clean cuts = better adhesion = longer-lasting repair.
Ultralight Repair Kit Weight Breakdown
For weight-conscious backpackers, here’s what a complete field tent repair kit weighs:
| Item | Weight (oz) | Weight (g) | Essential? |
|---|---|---|---|
| Pole splint | 0.5 oz | 14 g | Yes |
| Tenacious Tape (3″ × 8″ piece) | 0.2 oz | 6 g | Yes |
| Seam sealer (travel size) | 0.7 oz | 20 g | Yes |
| Spare zipper slider | 0.1 oz | 3 g | Yes |
| Needle & thread | 0.1 oz | 3 g | Yes |
| Pre-cut patches (2) | 0.3 oz | 8 g | Optional |
| Small folding scissors | 0.6 oz | 17 g | Optional |
| Total (Essential only) | 1.6 oz | 46 g | – |
| Total (Complete kit) | 2.5 oz | 71 g | – |
Step-by-Step Field Tent Repair Techniques
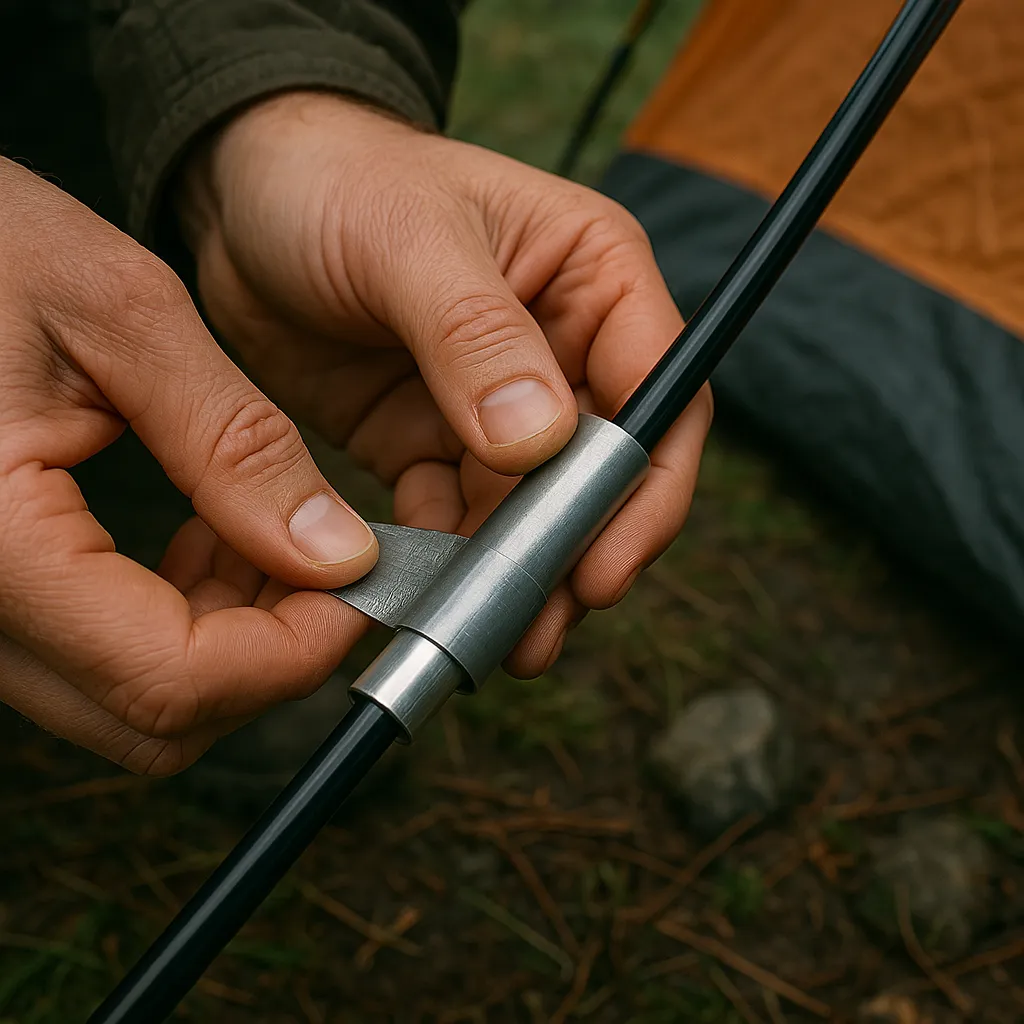
1. How to Fix a Broken Tent Pole
You’ll need: Pole splint (repair sleeve), duct tape or gear tape
Steps:
- Align the broken pole sections.
- Slide the splint over the break, centering it.
- Wrap tightly with tape to prevent sliding.
- Reinforce with a guyline if needed to support tension.
Real-world example: During a windstorm in Colorado’s San Juan Mountains, my Big Agnes Copper Spur UL2 pole snapped at a junction. Using an aluminum splint and duct tape, I reinforced the pole and continued using the tent for 3 more nights without issues.
Tip: If no splint is available, you can use a sturdy stick and tape — but this is temporary at best and will likely need reinforcement with additional guylines.
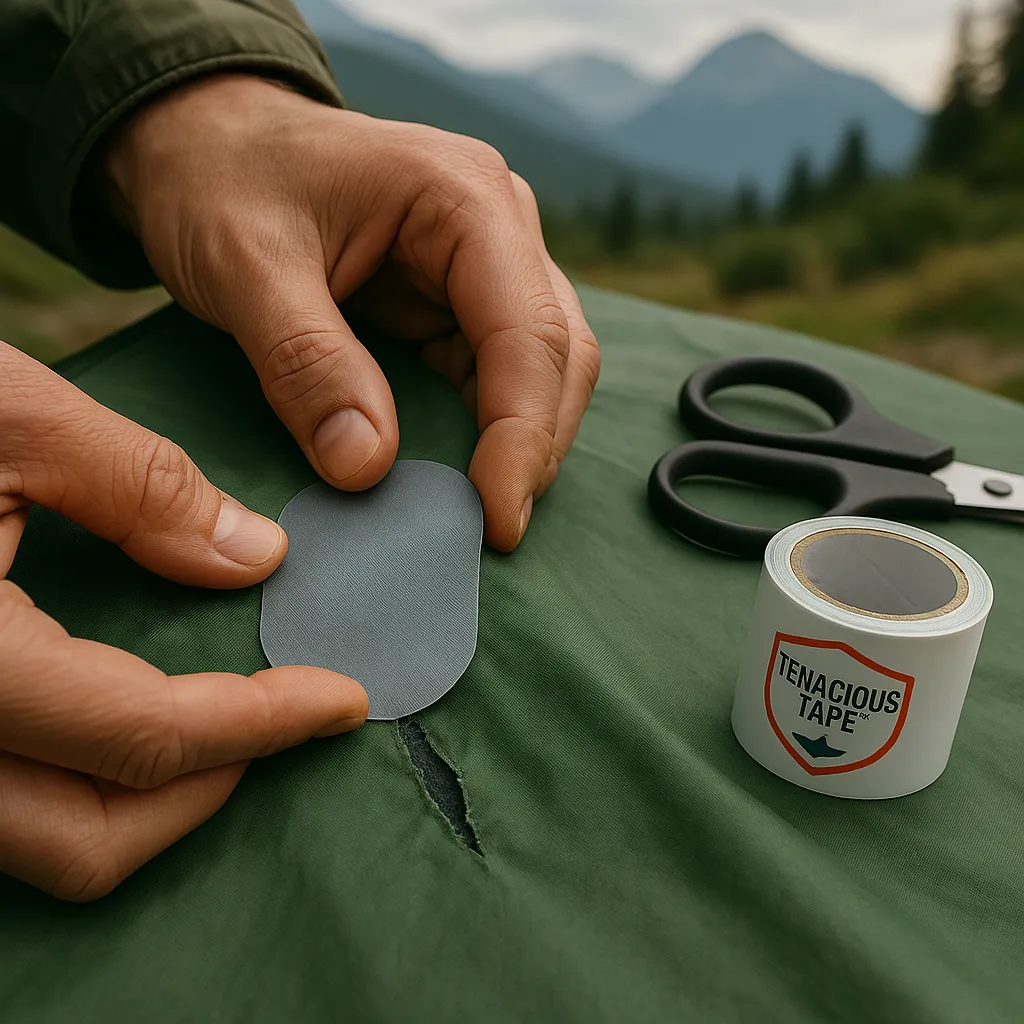
2. How to Repair a Rip in Tent Body or Rainfly
You’ll need: Tenacious Tape or fabric patch, scissors
Steps:
- Clean and dry the surface (use clothing or towel).
- Trim frayed edges around the tear.
- Cut rounded patch slightly larger than the hole.
- Apply firmly and smooth out air bubbles.
- If tear is large, patch both sides.
Brands that work best: Gear Aid Tenacious Tape, Noso Patches, and MSR Fabric Repair Patches have proven most durable in field conditions.
Tip: Keep corners rounded — square edges peel faster. For silnylon tents, look specifically for silnylon repair patches as standard adhesive may not stick well.
3. How to Fix a Leaky Tent Seam
You’ll need: Seam sealer, applicator brush
Steps:
- Dry the seam fully.
- Apply seam sealer along stitches, pressing into gaps.
- Let cure (some take 2-4 hours, others overnight).
- Avoid folding that area until fully set.
Weather consideration: In high humidity, seam sealer takes significantly longer to cure. If possible, set up in direct sunlight to speed drying.
Tip: Apply seam sealer to inside seams — less exposed to abrasion.
4. How to Repair a Tent Zipper That Won’t Close
You’ll need: Spare slider, pliers or multi-tool
Steps:
- Check for grit or bent teeth — clean gently.
- If slider is loose or wide, gently pinch it with pliers.
- Test movement — if it still fails, replace the slider.
- Thread new slider onto track — test again.
Temporary fix: If you can’t replace the slider, use safety pins or small carabiners to hold the zipper closed at critical points.
Tip: A slider fix often solves the problem faster than trying to “clean” the teeth.
5. How to Patch Tent Mesh Tears
You’ll need: Mesh patch or needle/thread
Steps:
- Align torn mesh edges.
- Use pre-cut adhesive mesh patch on both sides, if available.
- No patch? Stitch carefully with fine needle and thread.
- Reinforce with tape if under stress (e.g., door areas).
For larger tears: Create a “darn” pattern with your thread, crossing back and forth across the hole before stitching around the perimeter.
Tip: Small holes can be stopped with a dab of seam sealer.
6. How to Fix a Tent Floor Puncture
You’ll need: Tenacious Tape or PU patch, alcohol wipe
Steps:
- Clean the area around the hole — dry completely.
- Apply patch from inside, press firmly.
- If time allows, add a second patch on the outside.
- Sleep with gear off the patched spot to let it set.
Material note: For silicone-treated floors (common in lightweight tents), use silicone-specific repair products like SilNet or Seam Grip TF.
Tip: Avoid placing sleeping pads over fresh patches until fully bonded.
When to Repair vs. When to Replace Your Tent
Not every tear means the end of your tent — but not every repair is worth the hassle, either. Here’s how to decide when a field repair will hold, and when it’s time to retire your shelter.
Repair It If…
- The tear is small (under 6″) and not on a tension-critical area
- A pole is cracked but not shattered
- Zipper sliders are the issue (not the track or fabric)
- The damage is localized and can be sealed or patched cleanly
- You’re mid-trip and just need to get through a few more nights
- The tent is still structurally stable and weathertight overall
Replace It If…
- The fabric is sun-rotted, brittle, or delaminating
- Poles are missing or splintered beyond basic repair
- Seams are failing across multiple zones
- Zippers separate no matter what you try — or teeth are worn
- Mesh is shredded beyond patching
- Your tent constantly leaks even after sealing
- You’ve already repaired it multiple times and it’s no longer trustworthy
Bottom line:
If the repair buys you more field time without compromising safety or comfort — do it. If you’re fighting a different issue every trip, it may be time to upgrade.
Tips to Prevent Future Tent Damage
A few small habits go a long way in keeping your tent trail-ready. Most field tent failures are preventable with simple prep and care:
1. Always Use a Groundsheet or Footprint
Even if it’s ultralight — this single layer protects against sharp rocks, moisture, and abrasion on your tent floor.
2. Never Force a Zipper
If it snags, stop and gently work it free. Forcing can bend teeth or destroy the slider.
3. Dry Your Tent Before Packing
Packing a wet tent leads to mildew, seam breakdown, and fabric delamination. Dry it before you store it — or at least when you get home.
4. Stake It Properly, Always
A flapping tent in high wind stresses fabric, seams, and poles. Even in calm weather, use at least the key stake points.
5. Store It Loosely Between Trips
Don’t keep your tent compressed long-term. Use a mesh or cotton sack to preserve fabric elasticity and coatings.
6. Inspect After Each Trip
Check for fraying seams, bent poles, and pinholes. Small repairs done early prevent major failures in the field.
7. Pack a Repair Kit — Always
Even if your tent is new and flawless. It’s cheap insurance that weighs a few ounces but saves entire trips.
Real Campers’ Emergency Tent Repair Stories
“While hiking the Pacific Crest Trail, a branch tore a 4-inch gash in my tent fly during a thunderstorm. Using Tenacious Tape, I patched both sides and hiked another 500 miles without replacing the fly.” — Mike R., Thru-Hiker
“My tent pole snapped in half during a surprise snowstorm in the Cascades. Using a spare tent stake as a splint with duct tape, I created a functional repair that lasted until I got back to civilization three days later.” — Sarah L., Mountaineer
“After a mouse chewed through my tent mesh in the Adirondacks, I used dental floss to stitch it closed and covered it with a small piece of tape. Six years later, that same repair is still holding!” — James T., Weekend Camper
Frequently Asked Questions About Tent Repair
Can You Fix a Tent Zipper Without Replacement Parts?
Yes, but only temporarily. Pinching the slider with pliers can tighten it around the teeth. For broken pulls, a paperclip or small carabiner works in a pinch.
How Long Will a Taped Tent Repair Last?
Quality repair tape like Tenacious Tape can last 1-2 seasons with proper application. For permanent fixes, reinforce tape repairs with stitching once you’re home.
Is It Worth Repairing an Old Tent?
If the fabric remains waterproof and the damage is isolated, yes. However, if the fabric is brittle or the waterproof coating is flaking off, repairs likely won’t hold long-term.
What’s the Best Temporary Fix for a Broken Pole in the Backcountry?
Without a splint, use a tent stake or sturdy stick aligned with the broken section, then wrap tightly with duct tape. Reduce tension on that pole by adding extra guylines.
Can You Use Regular Tape Instead of Specialized Repair Tape?
In a true emergency, yes. Duct tape or Gorilla Tape will work for 1-2 days. However, they’ll leave residue and likely fail in wet conditions. Replace with proper repairs as soon as possible.
Conclusion
Tent failures don’t wait for perfect weather or convenient timing — but with the right tools and a bit of know-how, most issues can be fixed right where they happen. Whether it’s a snapped pole, a torn fly, or a zipper that just won’t close, field tent repairs can turn a potential disaster into a minor inconvenience.
With a simple repair kit and the techniques outlined in this guide, you’ll stay dry, protected, and on trail — instead of cutting your trip short. So patch it, splint it, seal it — and keep going.
Remember, the best tent repair is the one you never have to make. Take care of your gear, set it up properly, and always carry that lightweight repair kit. Your future self will thank you when you’re warm and dry in the backcountry while others are packing up early.
Looking for more camping and backpacking tips? Check out our guides on Solo Camping Checklist: What to Pack and How to Stay Safe and Top 7 Camping Tools Under 100g That Serious Backpackers Swear By to ensure you’re fully prepared for your next adventure.
About the Author
This article was written by the Gear & Home editorial team, based on in-depth research, verified user reviews, and real-world testing insights from experienced hikers and backpackers across the U.S.
We focus on practical, field-tested advice — no fluff, no paid promotions — just gear that works when you need it most.