
Gear & Home is reader-supported. When you buy through links on our site, we may earn an affiliate commission, at no extra cost to you. Learn more.
Price reality check: “Under $100” usually means typical sale price, not always MSRP. If a pad is above $100 today, use this guide to pick your ideal thickness/R-value, then buy the closest match during seasonal discounts.
Side sleepers don’t need “a sleeping pad.” They need a pad that keeps hips and shoulders from finding the ground. If you wake up with hip pain, numb shoulders, or constant tossing, the issue is almost always one of these: too thin, too unstable, or not warm enough against the ground.
Want the full big-picture strategy (pad + bag/quilt + layers)? Start with our pillar guide: Complete Backpacking Sleep System Guide: Stay Warm on Every Trail. This article goes deep on the pad—the #1 pain point for side sleepers.
Our Top Picks at a Glance
Decision Rules (Perfect for Quick Buying)
- If you wake up sore: choose ~3" thickness (or 3.5–4" if you’re heavier or camp on hard ground).
- If you wake up cold: increase R-value first (ground steals heat fast). Learn it in 3 minutes: R-Value Explained: Sleeping Pad Temperature Ratings.
- If you roll off: choose wide (25") if possible.
- If punctures are a fear: add a foam base layer under your inflatable (cheap + effective).
| Product | Best For | Typical Price (USD) | Rating |
|---|---|---|---|
| Klymit Static V2 | Best Overall Value (warm weather) | $50 | |
| NEMO Tensor Insulated | Most Comfortable (often on sale) | $95 | |
| Therm-a-Rest Z Lite Sol | Best Durability (base layer) | $50 | |
| REI Co-op Flash Insulated | Best for Cooler Nights | $80 | |
| Sea to Summit Comfort Light Insulated | Best for Firm Comfort | $90 |
Table of Contents
How We Choose (Transparent Method)
To keep this guide useful (and honest), we use a consistent research method:
- Specs first: thickness, R-value, weight, construction type, and size options from product pages and brand documentation.
- Review patterns second: we scan recurring side-sleeper feedback (hips/shoulders, stability, noise, sliding). One “perfect” review doesn’t move a pad up—repeat patterns do.
- Side-sleeper priorities: thickness & stability outrank almost everything else under $100.
Why this matters: A pad that looks great on a spec sheet can still feel awful if it wobbles, slides, or bottoms out under hips. Patterns in feedback help identify those real-world issues.
Top 5 Sleeping Pads for Side Sleepers Under $100
1. Klymit Static V2 — Best Overall Value
Quick Specs (can vary by size/version)
- Thickness: 2.5 inches
- R-Value: ~1–2 range (warm-weather focus; verify current spec)
- Typical price: ~$50
- Best for: budget side sleepers in warm weather; compact packing
Why It’s Here
This is the “start here” value pick: affordable, compact, and often reported as comfortable enough for many side sleepers—especially on moderate ground. It’s not the plushest at 2.5", but the value-per-dollar is hard to beat.
Pros
- Excellent value under $100
- Compact packed size
- Often stable enough for the price
Cons
- Lower insulation (warm-season focus)
- Heavier side sleepers may bottom out on hard ground
Best Fit
If you camp mostly in warm weather and want the best comfort you can get for ~$50, this is the value pick.
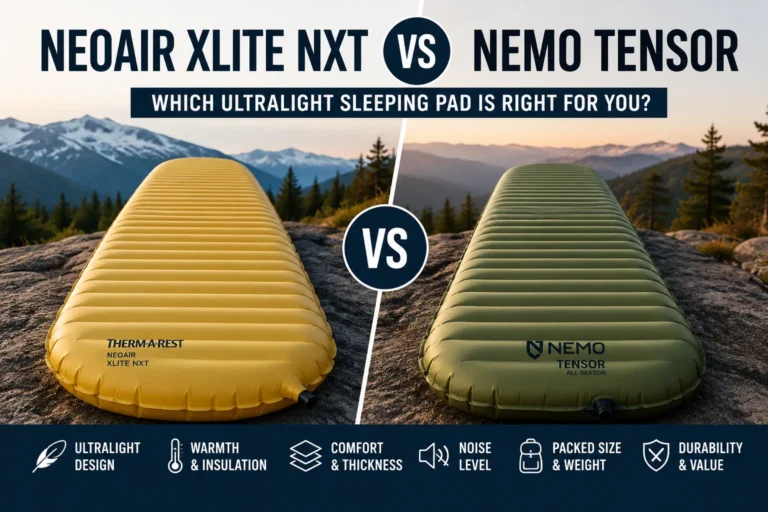
2. NEMO Tensor Insulated — Most Comfortable (Often on Sale)
Quick Specs (can vary by size/version)
- Thickness: ~3 inches
- R-Value: ~3+ (3-season; verify current spec)
- Typical price: often $90–$110 (watch sales)
- Best for: side-sleeper comfort first; 3-season versatility
Why It’s Here
If you’ve tried thinner budget pads and still wake up sore, this kind of 3" insulated design is the “oh, that’s what comfort is” moment for many side sleepers—especially when you catch it under $100.
Pros
- High comfort ceiling for side sleeping
- 3-season warmth potential
- Often less “wobbly” than budget pads
Cons
- Price fluctuates (may exceed $100)
- More air volume (inflation time)
Tip: If it’s over $100 today, use it as your spec target: ~3" thick + stable baffles + R-value ~3+.
3. Therm-a-Rest Z Lite Sol — Best Durability (Best as a Base Layer)
Quick Specs
- Type: closed-cell foam
- Typical price: ~$50
- Best for: puncture-proof durability; insulation boost under inflatables
Why It’s Here
For most side sleepers, foam alone won’t be plush. But foam as a base layer is one of the most cost-effective comfort upgrades you can make: warmer, more stable, and far less puncture anxiety.
- Foam pad on the ground → inflatable pad on top
- Result: less sliding, more warmth, fewer puncture worries
4. REI Co-op Flash Insulated — Best for Cooler Nights
Quick Specs (can vary by size/version)
- Thickness: ~3 inches
- R-Value: ~3+ (verify current spec)
- Typical price: often ~$80–$100
- Best for: spring/fall camping; higher elevation; “I sleep cold”
Why It’s Here
Many side sleepers blame the sleeping bag for cold nights, but the ground is often the real heat thief. If you camp when temps dip, prioritize insulation and stability—not just softness.
For practical warmth tactics beyond the pad, see: How to Keep Your Tent Warm at Night (Even in Near-Freezing Temps).
5. Sea to Summit Comfort Light Insulated — Best for Firm Comfort
Quick Specs (can vary by size/version)
- Thickness: ~2 inches
- R-Value: ~3 range (verify current spec)
- Typical price: often ~$90–$110
- Best for: car camping / short approaches; people who hate “bouncy” pads
Why It’s Here
Some sleepers prefer a firmer, more controlled surface. If you’re not obsessed with ultralight weight, a firmer feel can be more comfortable on uneven ground because it doesn’t shift as much when you roll over.
What Side Sleepers Need in a Sleeping Pad
1) Thickness (the #1 comfort lever)
Side sleeping concentrates weight onto two narrow pressure points: hip and shoulder. That pressure compresses pads aggressively. If the pad is too thin, your hip “finds the floor.”
Rule of thumb: aim for ~3 inches. If you’re heavier or camp on hard ground, 3.5–4 inches is often the difference between “fine” and “actually slept.”
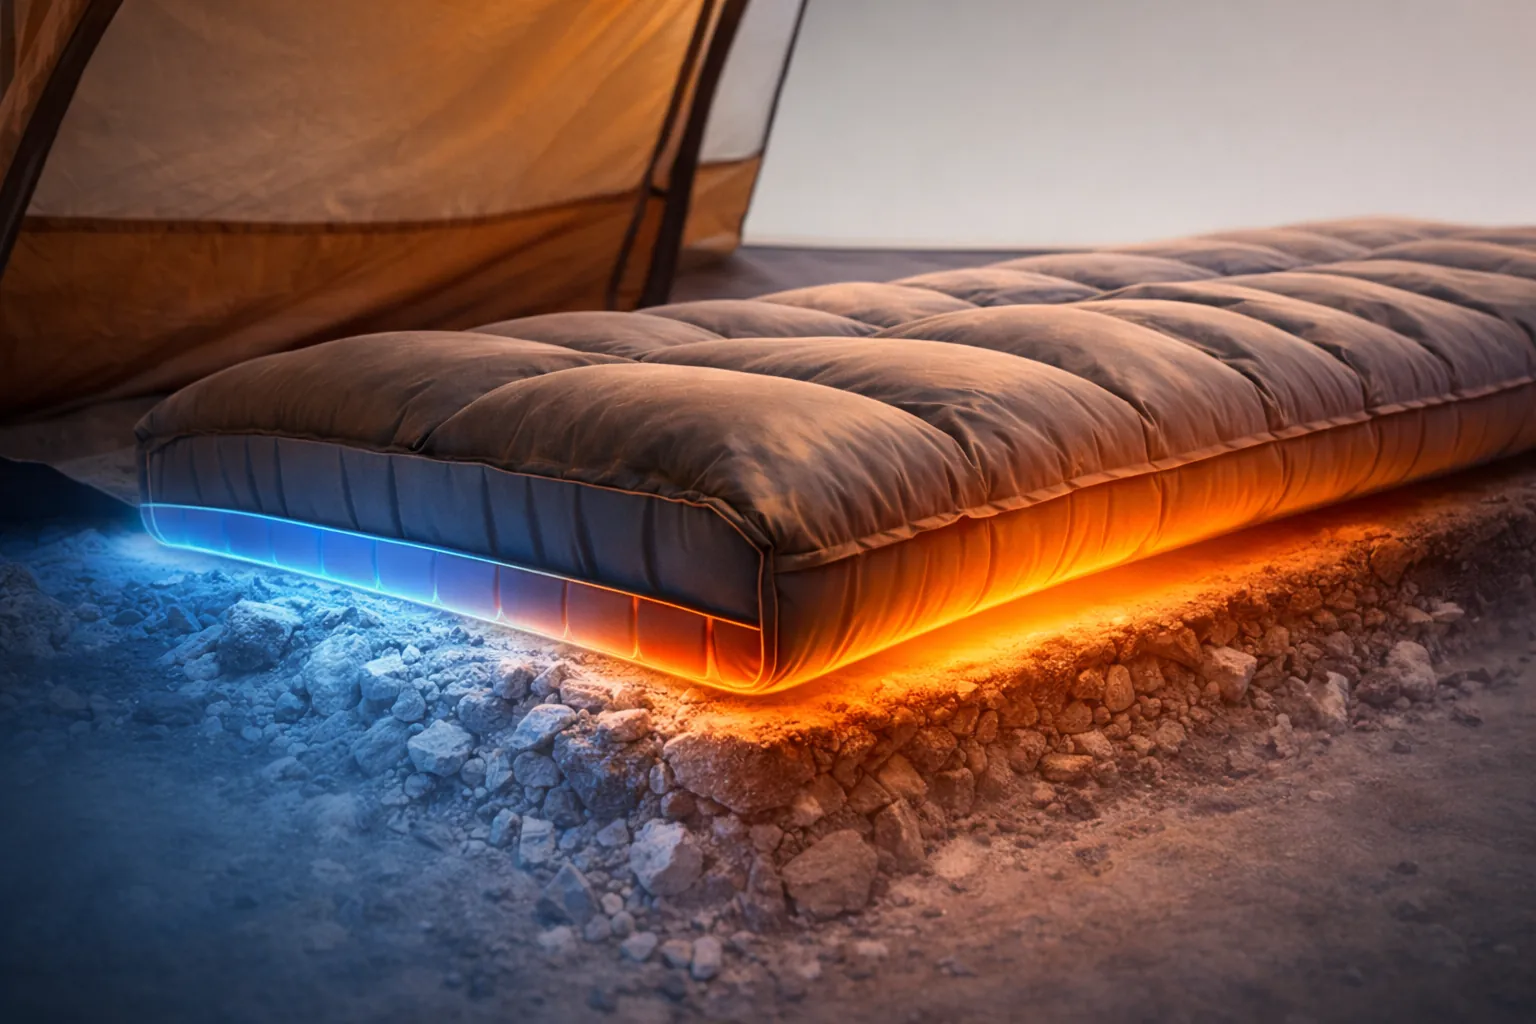
2) R-value (warmth is a sleep multiplier)
R-value measures resistance to heat loss into the ground. Cold ground ruins sleep fast—especially for side sleepers who wake and reposition more.
- R ~1–2: warm summer ground
- R ~2.5–3.5: typical 3-season use
- R 4+: colder shoulder-season / winter-ish nights
Quick explainer + practical temp framing: R-Value Explained: Sleeping Pad Temperature Ratings.
3) Stability + anti-slip (side sleepers move more)
Two pads can share the same thickness, but feel totally different. Side sleepers benefit from designs that reduce wobble and sliding. If you toss and turn, prioritize: grippy fabric, stable baffles, and—if possible—a wider size.
Best Thickness by Body Weight (Practical Table)
| Body Weight | Recommended Thickness | What You’ll Notice | Budget Strategy Under $100 |
|---|---|---|---|
| Under ~160 lb (72 kg) | 2.5"–3" | Less bottoming out risk | Value pads can work well; focus on stability |
| ~160–200 lb (72–91 kg) | ~3" | Big comfort jump vs thin pads | Watch sales for 3" insulated models |
| 200+ lb (91+ kg) | 3.5"–4" ideal | Hips/shoulders need more loft | Use foam base layer + best 3" inflatable you can find |
Wide vs Regular: The Easiest Comfort Upgrade
For many side sleepers, switching from a standard 20" pad to a 25" wide pad improves sleep more than chasing tiny spec differences. Why?
- Shoulders have room; you don’t feel “perched” on the edge.
- Fewer roll-offs when you change position at night.
- Less tension (you stop bracing to stay centered).
If you wake up on the tent floor: try wide first (if available) before replacing everything else.
How to Make Any Pad More Comfortable (Side Sleeper Setup)
- Inflate fully → lie on your side → release a little air until pressure points soften.
- Put softer gear under the hip zone (light jacket / spare clothes) if needed.
- Stop sliding: textured footprint, grippy dots, or a thin foam base layer.
- Dial pillow height: too-high pillow twists the spine → shoulder pain feels like “bad pad.”
- Warmth check: if you’re cold, increase ground insulation first (R-value or foam layer).
Quick Comparison Chart
| Model | Thickness | R-Value | Typical Price | Best Use |
|---|---|---|---|---|
| Klymit Static V2 | 2.5" | ~1–2 (verify) | ~$50 | Warm weather value |
| NEMO Tensor Insulated | ~3" | ~3+ (verify) | $90–$110 | Comfort + 3-season |
| Therm-a-Rest Z Lite Sol | Foam | Mid (verify) | ~$50 | Base layer durability |
| REI Co-op Flash Insulated | ~3" | ~3+ (verify) | ~$80–$100 | Cooler nights |
| Sea to Summit Comfort Light Insulated | ~2" | ~3 (verify) | $90–$110 | Firm feel / car camping |
Common Buying Mistakes (That Keep Side Sleepers Miserable)
- Buying too thin to save weight: side sleepers pay for this at 2 a.m.
- Overinflating: “hard as a rock” = worse pressure points.
- Ignoring width: wide often improves comfort more than minor spec upgrades.
- Blaming the bag for cold: ground insulation (R-value) is usually the culprit.
- Assuming MSRP is the price: under $100 is often a sale game.
Want a reliable full-system approach? Use the pillar guide to combine pad + bag/quilt + layers: Complete Backpacking Sleep System Guide.
Frequently Asked Questions
How thick should a sleeping pad be for side sleepers?
Most side sleepers do best at ~3". If you’re heavier or camp on hard ground, 3.5–4" is often more comfortable.
Should I get a wide pad?
If you move at night, yes. A 25" pad reduces roll-offs and gives shoulders room—often the simplest comfort upgrade.
How do I prevent sliding?
Use a grippy-bottom pad, a textured footprint, or non-slip grip dots. A thin foam layer under an inflatable also helps a lot.
What R-value do I need?
Summer: ~2–3. Typical 3-season: ~2.5–3.5. Colder trips: 4+. Quick explainer: R-Value Explained.
Can foam pads work for side sleeping?
Foam alone is rarely plush enough, but as a base layer under an inflatable it’s excellent: warmer, more stable, more puncture-safe.
Final Recommendations
If you want to sleep well on your side under $100, don’t overthink it: thickness first, then stability, then R-value.
Best overall value: Klymit Static V2 (warm weather, budget-friendly).
Most comfortable under $100 (when discounted): NEMO Tensor Insulated-style 3" insulated pads.
Best durability upgrade: Therm-a-Rest Z Lite Sol as a base layer under any inflatable.
Best cooler-night pick: REI Flash Insulated-style 3-season insulated pads.
Before your next trip, open this once and pack faster: Solo Camping Checklist: What to Pack and How to Stay Safe.
And if you’re chasing warmth, not just comfort, the best practical tactics are here: How to Keep Your Tent Warm at Night (Even in Near-Freezing Temps).
Happy trails!