Category: Gear | Type: How-To Guide | Focus: Ultralight Camping Solutions | Time: 8 m
Last updated: April 2025
Why Every Backpacker Needs a Sleeping Bag Liner
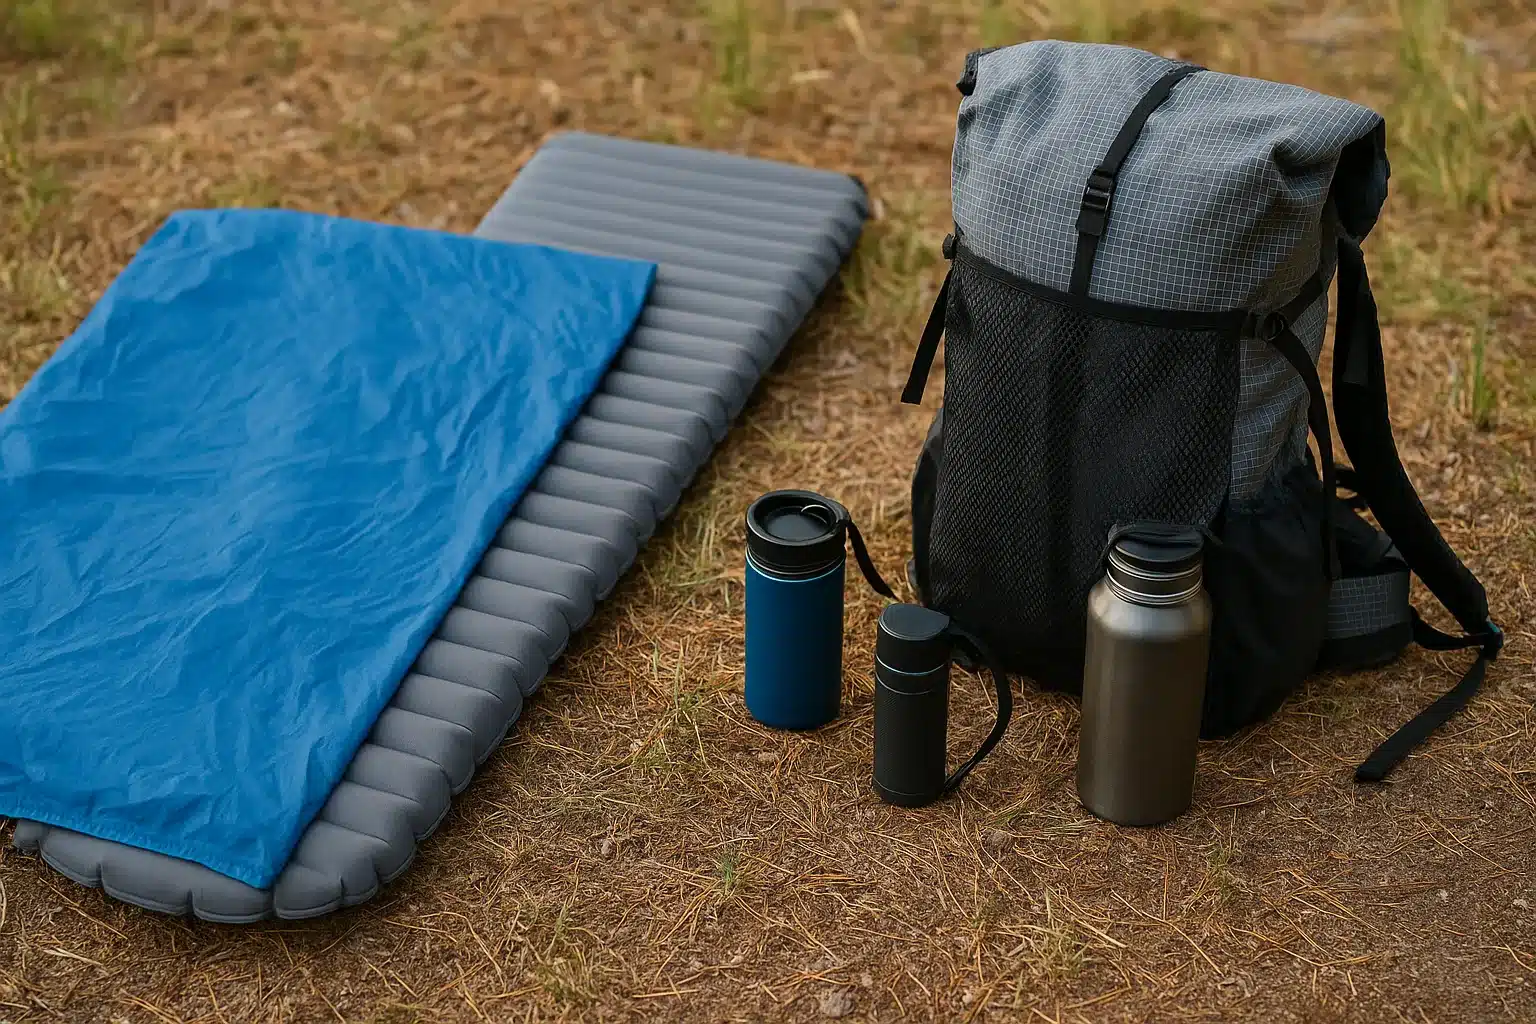
A sleeping bag liner might seem like a non-essential luxury, but experienced hikers know it’s actually a versatile ultralight camping gear solution. Whether you’re trying to keep your sleeping bag clean, add warmth on chilly nights, or simply use it solo during summer camping, a liner transforms your backpacking sleep system with minimal weight penalty.
The problem? Commercial liners often cost $30-70, weigh more than necessary, and might not fit your specific sleeping bag perfectly. For budget camping gear enthusiasts and ultralight backpackers, this DIY no-sew sleeping bag liner for backpacking in 2025 solves all these issues at once.
Crafted from one fabric piece with no sewing, this DIY no-sew sleeping bag liner 2025 hack is featherweight, packs small, and assembles in 10–15 minutes. As someone who’s tested countless trail comfort solutions, I’ve found this approach outperforms many commercial options.
Related: Top 7 Camping Tools Under 100g That Serious Backpackers Swear By – see how this liner pairs perfectly with other ultralight essentials!
Materials You’ll Need
This DIY project embodies true minimalist camping hacks – no sewing machine, no complicated tools, and virtually no weight penalty. Here’s your shopping list for this ultralight sleeping bag liner hack:
1. Lightweight Fabric (Main Material)
- Best Options:
- Polyester microfiber sheet (best balance of weight, price, and comfort)
- Nylon taffeta or ripstop (most durable and lightweight option)
- Silk or silk-alternative fabrics (luxury feel but higher cost)
- Repurposed bedsheets or travel sarongs (most budget-friendly)
- Size: Rectangle at least 32 × 70 inches (81 × 178 cm)
- Weight Target: 2–8 oz (56–227g) depending on fabric (e.g., silk: 2–4 oz, microfiber: 4–8 oz). Avoid cotton, as it retains moisture, adds weight, and dries slowly, reducing trail comfort solutions.
- Tip: Avoid cotton – it absorbs moisture, dries slowly, and adds unnecessary weight
2. Fabric Tape or Double-Sided Gear Tape
- Purpose: Optional side closure or hem reinforcement
- Recommended Products:
- Gear Aid Tenacious Tape ($5-8)
- 3M double-sided outdoor tape ($4-7)
- Weight: Less than 0.5 oz (14g) needed for this project
3. Additional Optional Items
- Safety Pins or Clips: For temporary closures (0.2-0.3 oz / 5-8g)
- Scissors or Fabric Shears: For trimming to size
- Measuring Tape: For accurate dimensions
Step-by-Step Guide: How to Make Your DIY No-Sew Sleeping Bag Liner in 10 Minutes
Unlike other DIY sleeping bag liner for thru-hiking tutorials that require complex sewing, this no-sew sleeping bag liner for hot weather camping comes together in minutes. I’ve refined this method over hundreds of trail miles to maximize simplicity while maintaining functionality.
Step 1: Cut Your Fabric to Size
- Lay fabric flat on a clean surface
- Measure and mark a rectangle roughly 32 × 70 inches (adjust based on your height and sleeping bag dimensions). For users over 6 ft, use a 32 × 75–80 inch rectangle for full coverage.
- Cut carefully with scissors or rotary cutter
- Pro Tip: Add 2-3 inches to your height for comfortable foot room
Step 2: Create the Basic Shape
- Fold the fabric in half lengthwise
- The fold now forms the bottom of your liner
- You’ll have a long, narrow sleeve approximately 16 × 70 inches
Step 3: Choose Your Side Closure Method
For this best fabric for DIY sleeping bag liner project, you have three options:
- Open-Sided (Ultralight Option): Leave the long side completely open for maximum ventilation and minimum weight
- Taped Side (Semi-Permanent): Apply gear tape along the edge, leaving the top 20″ open for entry
- Pinned Side (Adjustable): Use 3-5 safety pins or clips spaced along the open edge for customizable closure
When I tested this on the Pacific Crest Trail, I found the pinned approach offered the best balance of security and ventilation for three-season use.
Step 4: Reinforce Edges (Optional)
- Apply small strips of tape at stress points
- Consider a simple hem fold (0.5″) at the top opening
- Ultralight Tip: Skip this step to save 0.3-0.5 oz if you’re a true gram counter
- For durability, reinforce edges with tape, as folded designs may fray over time with frequent use.
Step 5: Pack and Use
Your lightweight sleeping bag liner for summer camping is now ready for the trail! Roll or fold it loosely – avoid tight stuffing to prevent wrinkles and uneven wear.
How to Use Your Liner for Maximum Benefit
Having guided many novice hikers through protect sleeping bag from dirt DIY solutions, I’ve found these usage tricks make a huge difference in comfort and functionality:
Temperature Management
- Hot Weather: Use the liner alone as a lightweight sheet
- Mild Conditions: Pair with a light quilt for perfect temperature regulation
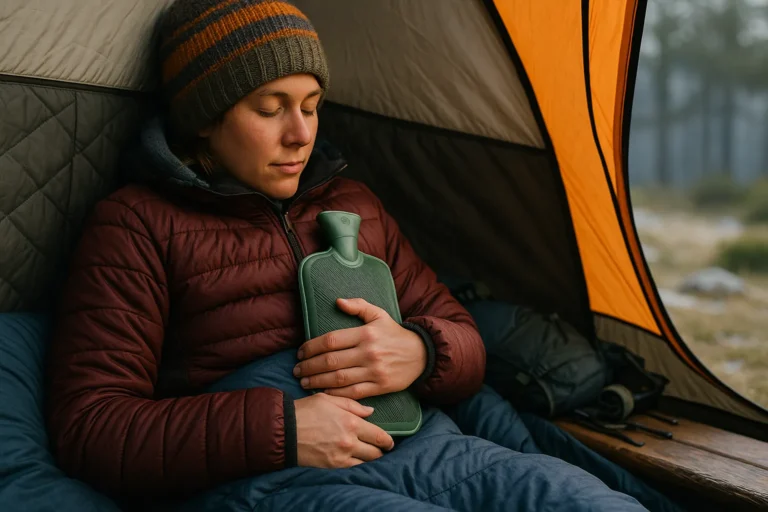
- Cold Weather: Insert inside your sleeping bag for an extra 5-10°F of warmth
Hygiene Benefits
- Creates a washable barrier between you and your sleeping bag
- Protects expensive down insulation from body oils
- Prevents the “hitchhiker effect” where dirt and debris enter your bag
Comfort Enhancements
- Provides a soft layer against skin when using technical sleeping bags
- Eliminates the “clammy” feeling of sleeping directly on nylon or polyester bag liners
- Reduces friction when turning inside your bag
Related: How to Pack a Backpack: The Ultimate Guide for Hikers & Campers (2025) – learn how to efficiently pack your new liner alongside other gear!
Custom Modifications for Your Hiking Style
What makes this DIY sleeping bag liner in 10 minutes project special is its adaptability. Based on the backpacking essentials you already carry and your typical hiking conditions, consider these customizations:
1. Mummy Shape Modification
For users of tapered sleeping bags, trim one end at an angle before folding to create a mummy shape that matches your bag’s profile.
2. Pillow Pocket Add-On
- Fold over the top 8-10″ of fabric
- Secure corners with tape or clips
- Creates a perfect pocket for stuffing clothes as a pillow
3. Ventilation Options
- Full-Length Zipper Alternative: Use intermittent tape or clip sections
- Foot Vent: Leave the bottom corner unsealed for hot weather foot ventilation
- Mesh Panel: For hot climates, replace a section with lightweight mesh
4. Bug Protection Enhancement
When practicing ultralight camping hacks 2025, treat your liner with permethrin spray for added protection against insects when using minimal shelters.
When to Use (and When to Skip) Your DIY Liner
Understanding when to deploy your ultralight sleeping bag liner hack maximizes its value in your pack. After extensive testing across different environments, here’s my guidance:
Perfect Conditions for Your Liner
- Multi-Day Backpacking: Keep your sleeping bag clean for extended trips
- Hot Weather Camping: Use alone as a lightweight sheet (65-80°F nights)
- Hostels and Huts: Hygienic barrier for shared accommodations
- Adding Warmth: Boost insulation by 5-10°F in shoulder seasons
When to Leave It Home
- Ultra-Minimalist Day Hikes: When every gram counts for short trips
- Winter Expeditions: When using a tight-fitting expedition bag with heavy base layers
- Extremely Wet Conditions: When drying additional gear becomes problematic
Cost and Weight Comparison
| Solution Type | Average Cost | Typical Weight | Durability | Customization |
|---|---|---|---|---|
| Commercial Silk Liner | $50-90 | 4.5-6 oz | Medium | Low |
| Commercial Synthetic | $30-60 | 4-11 oz | High | Low |
| Commercial Cotton | $20-40 | 12-16 oz | Very High | Low |
| DIY No-Sew (This Guide) | $5-15 | 3-7 oz | Medium | Very High |
| DIY Sewn Option | $8-20 | 4-8 oz | High | High |
Multi-Use Applications Beyond Sleeping
True lightweight fabric for camping solutions should serve multiple purposes. Your new liner can also function as:
- Emergency Towel: Quick-drying alternative in a pinch
- Sun Protection: Drape over head and shoulders during exposed hikes
- Clean Surface: Ground cloth for organizing small gear
- Privacy Screen: Hanging divider in shelters or shared tents
- Gear Cover: Protection for backpack during transit
FAQ: Your DIY Sleeping Bag Liner Questions Answered
How much warmth does a DIY liner actually add?
A synthetic liner adds 5–8°F of warmth, while a reflective layer can boost up to 8–10°F, extending your sleeping bag’s temperature rating
What’s the best fabric for maximum durability?
For the optimal balance of weight and durability, ripstop nylon (1.1oz per yard) provides excellent tear resistance while maintaining a packable profile. For pure comfort, nothing beats silk alternatives like polyester microfiber.
How do I wash my DIY liner on long trails?
For hygiene on the trail, hand wash with biodegradable soap at water sources, roll in a bandana to remove excess moisture, and hang from your pack while hiking. It will typically dry within 1-2 hours in decent conditions.
Can I really make one without any sewing?
Absolutely! This design intentionally eliminates sewing to make it accessible to everyone. The folded construction distributes tension evenly, eliminating the need for stitched seams in most usage scenarios.
How small does it pack down compared to commercial options?
A properly made DIY liner using technical fabrics packs down to roughly the size of a medium orange (about 3″ × 4″), compared to commercial options that are often the size of a large grapefruit or bigger.
What’s the weight savings over commercial liners?
The average commercial synthetic liner weighs 7-11 oz, while this DIY version ranges from 3-7 oz depending on fabric choice. For ultralight backpackers, this 2-6 oz weight reduction is significant.
Can a DIY liner work for hammock camping?
Yes, add tie-out loops to secure it, perfect for ultralight hammock setups in 2025.
How to prevent a DIY liner from slipping?
Secure it with clips or a safety pin at the footbox for a snug fit in mummy bags.
Conclusion: Your Ultralight Sleep System Upgrade
When it comes to backpacking sleep systems, small innovations often yield the biggest comfort improvements. This DIY no-sew sleeping bag liner 2025 project exemplifies the ultralight ethos: simple, functional, and customized to your needs.
This DIY no-sew sleeping bag liner 2025 hack is ideal for weekend warriors or thru-hikers seeking ultralight camping hacks 2025. Try it for a cleaner, comfier sleep system!
Related: Best Odor-Proof Bags for Backpacking: Keep Smells In & Critters Out (2025) – another essential DIY-friendly camping solution!
Happy trails and comfortable nights!
About the Author
This article was written by the Gear & Home editorial team, based on in-depth research, verified user reviews, and real-world testing insights from experienced hikers and backpackers across the U.S.
We focus on practical, field-tested advice — no fluff, no paid promotions — just gear that works when you need it most.


