Gear & Home is reader-supported. When you buy through links on our site, we may earn an affiliate commission, at no extra cost to you. Learn more.
Introduction
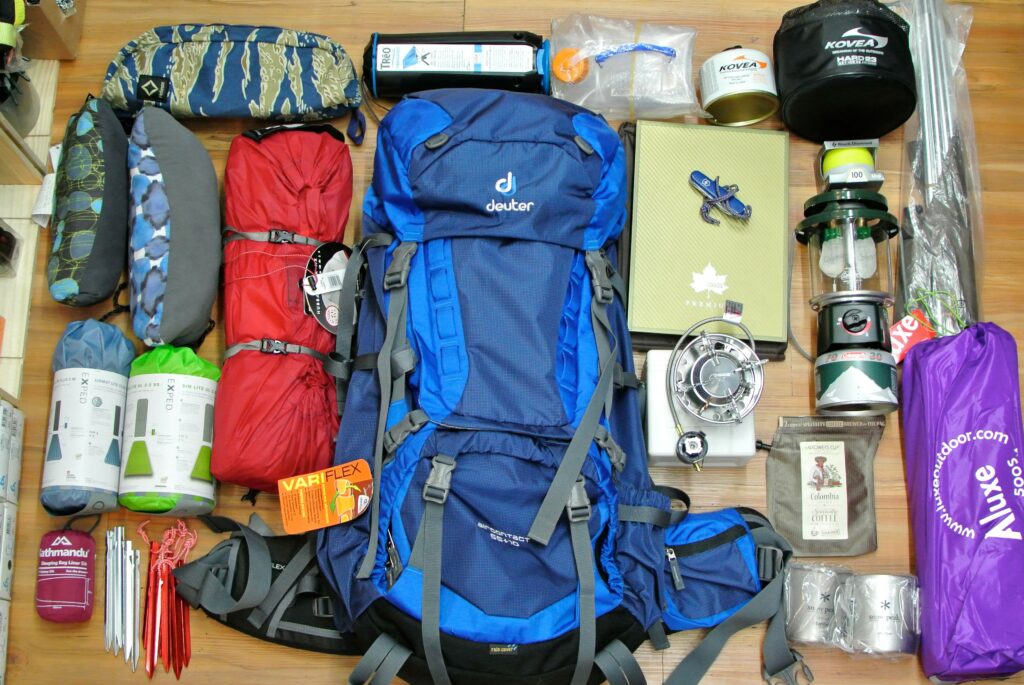
Packing a backpack might seem simple — until you hit the trail and realize your gear is jabbing your back or your raincoat is buried under your sleeping bag when the storm hits. Whether you’re heading out for a weekend camping trip or a multi-day hike, packing your backpack correctly can make a huge difference in comfort, balance, and accessibility.
In this comprehensive guide, you’ll learn how to pack a backpack like a pro. We’ll break it down by zones, give you practical tips from seasoned hikers, and highlight common mistakes — all based on real-world experience from backpackers who’ve learned the hard way.
Backpack Packing Zones Overview
Before diving into specific techniques, understanding the different zones of your backpack is essential for proper weight distribution and organization:
| Backpack Zone | What to Pack There | Why It Matters |
|---|---|---|
| Bottom Zone | Sleeping bag, bulky but light gear | Keeps weight low and creates a stable base |
| Middle Zone | Heaviest items: stove, food, water | Centers weight near your spine for balance |
| Top Zone | Items you’ll need often: snacks, jacket | Easy to access without unpacking everything |
| Exterior Pockets | Map, sunscreen, headlamp, multitool | Quick access during the hike without stopping |
| Hip Belt Pockets | Small snacks, lip balm, compass | Accessible without removing the pack |
| Lid / Brain | First aid kit, rain cover, emergency items | Keeps critical gear protected and handy |
Complete Backpack Packing Guide: Step-by-Step
1. Prepare and Organize Before Packing
Before you even touch your backpack, spread out all your gear on a flat surface. This crucial first step helps you:
- Double-check your packing list to ensure nothing is forgotten
- Remove unnecessary duplicates to save weight and space
- Group similar items together (clothes, cooking gear, toiletries)
- Identify what needs waterproofing with dry bags or zip-locks
Pro tip: Take a photo of your laid-out gear before packing. This serves as a visual inventory and helps when repacking for the return trip.
2. Pack the Bottom Zone Properly
This is the least accessible part of your backpack, so pack items you won’t need until making camp:
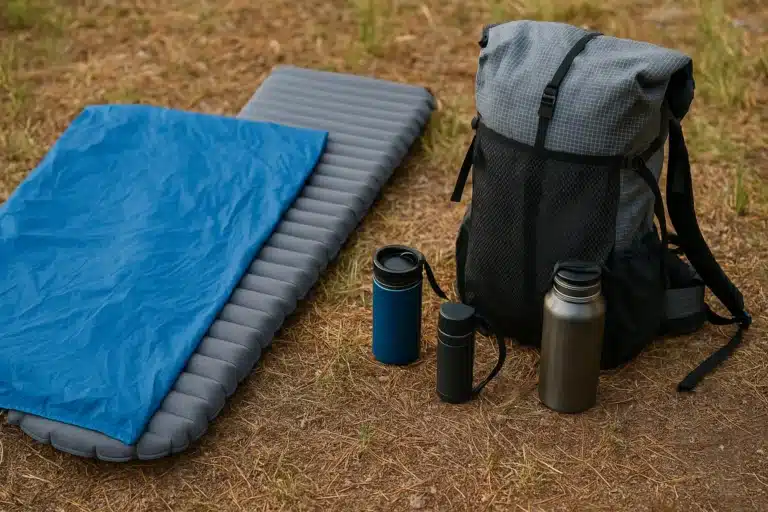
- Sleeping bag (preferably in a compression sack)
- Sleeping pad or inflatable mattress
- Camp shoes or extra clothing layers for sleeping
- Camp pillow or stuff sack filled with soft items
Why this works: These light but bulky items create a cushioned base and keep your center of gravity low, improving stability on uneven terrain.
3. Load the Middle Zone Strategically
The middle zone is the “engine room” of your pack — keep heavy items close to your back and centered:
- Cooking stove and fuel
- Food supplies (heaviest meals)
- Water reservoir or bottles (full)
- Bear canister or food storage
- Cooking pot and dense equipment
Pack tight: Use smaller items to fill gaps between larger ones. The middle zone should feel solid with minimal shifting when you move.
4. Optimize the Top Zone for Accessibility
In this zone, prioritize items you’ll need throughout the day:
- Rain jacket or wind shell
- Insulating layer (fleece, down jacket)
- Lunch and trail snacks
- Toilet kit and trowel
- Water filtration system
- Headlamp if hiking near dusk
Quick access tip: Pack these items in reverse order of anticipated use, with the most immediately needed items on top.
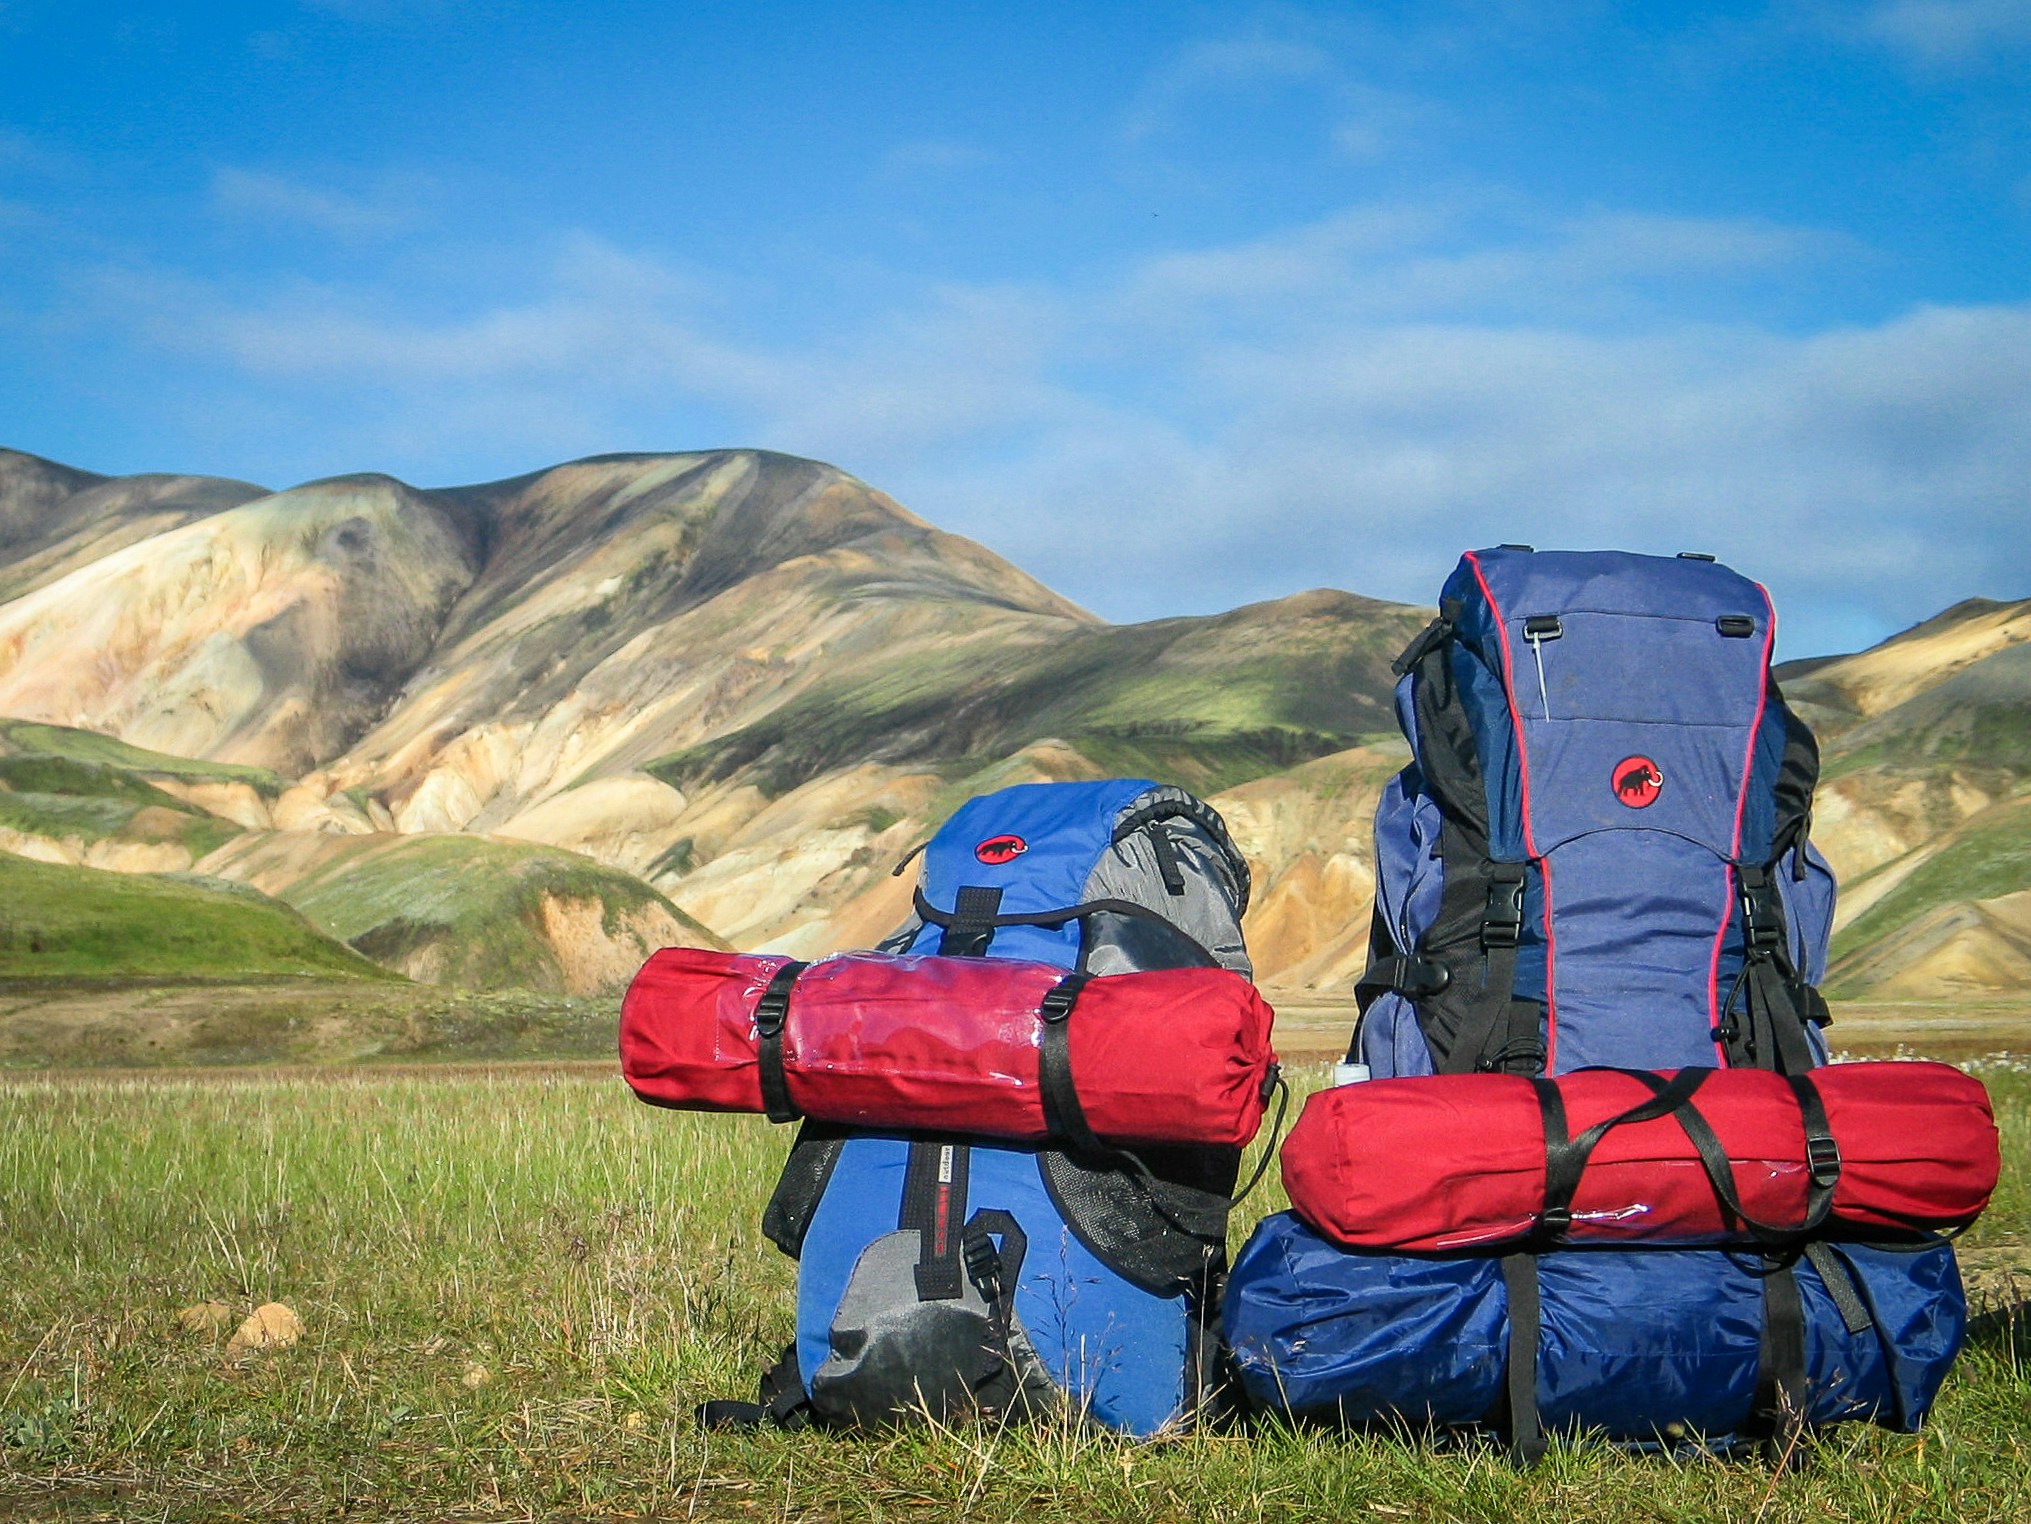
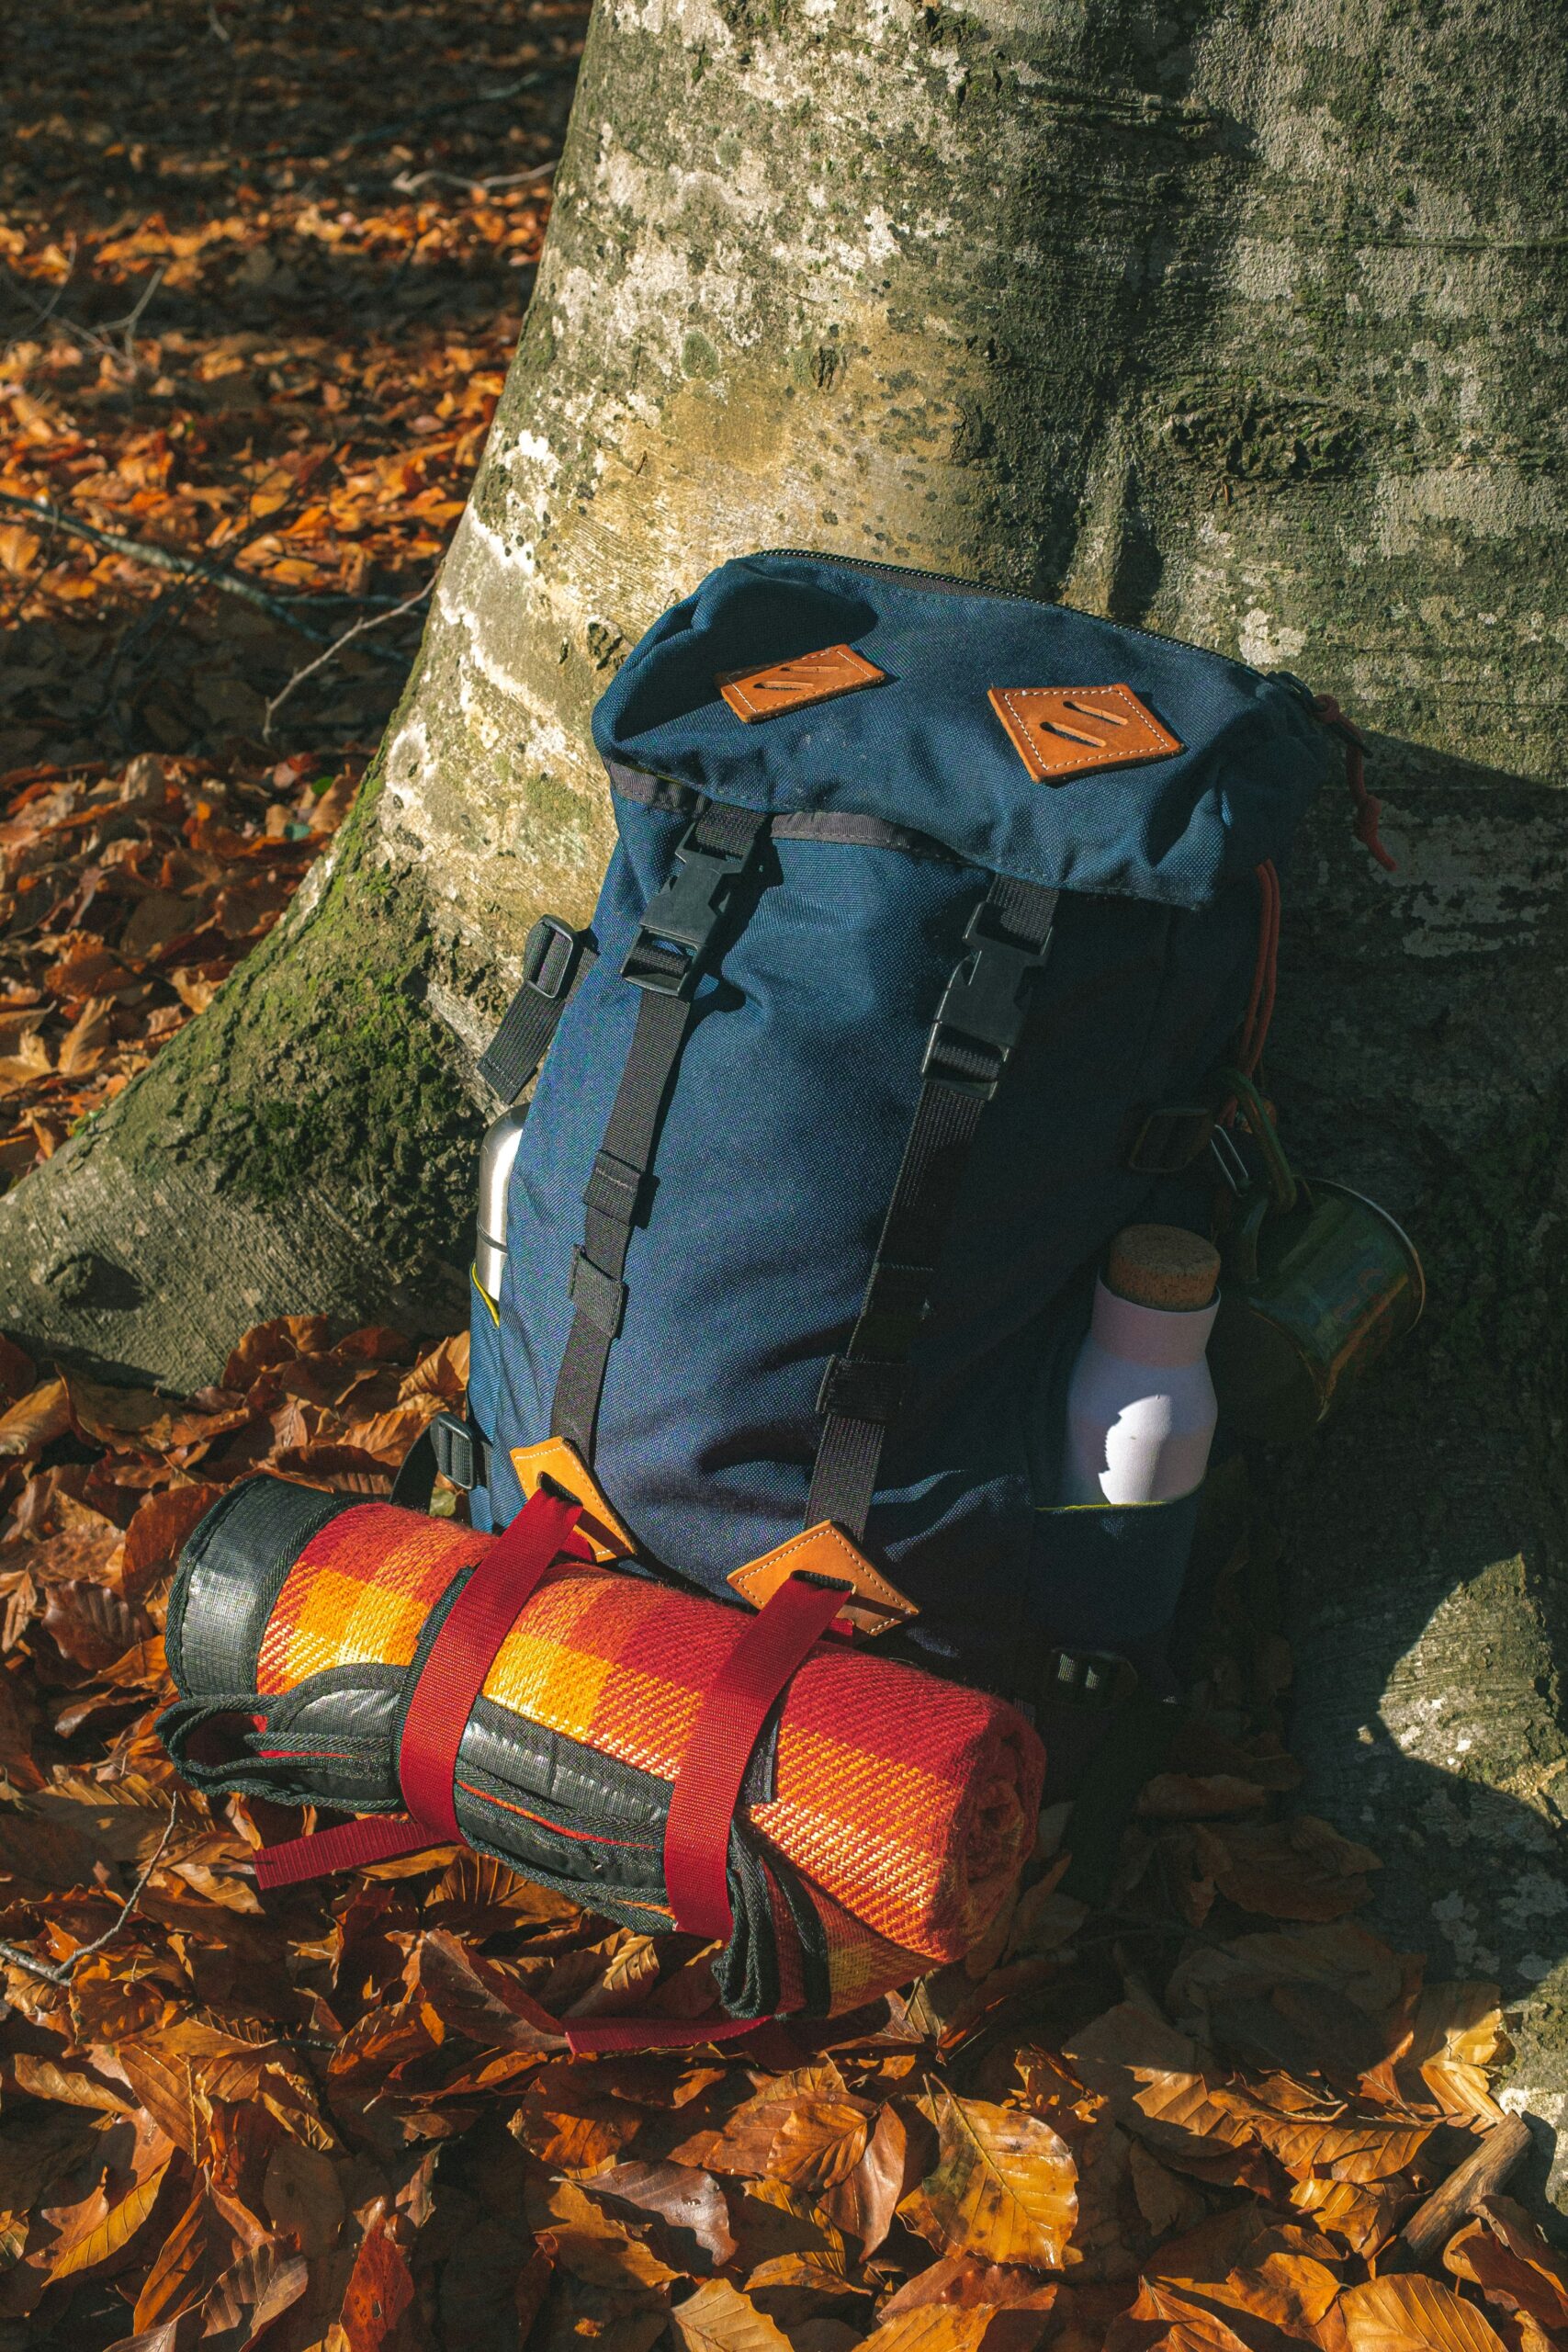
5. Utilize Exterior Pockets Effectively
External storage increases organization and accessibility:
- Side mesh pockets: Water bottles, tent poles, trekking poles
- Front mesh pocket: Rain cover, wet socks, trash bag
- Hip belt pockets: Energy bars, smartphone, lip balm, compass
- Top lid pocket: First aid kit, headlamp, map, sunscreen, bug spray
Balance tip: Distribute weight evenly between left and right sides to prevent strain and improve hiking stability.
6. Master Weight Distribution and Balance
Proper weight distribution is the key to comfortable backpacking:
- Keep the heaviest items centered and close to your back
- Ensure weight is balanced left-to-right
- Use compression straps to secure the load and prevent shifting
- Adjust as you go – don’t hesitate to repack if something feels off
- Keep frequently used items accessible without removing your pack
Balance test: Put on your packed backpack and stand straight. You should feel the weight primarily on your hips, not pulling back on your shoulders.
How to Avoid Common Backpack Packing Mistakes
Even experienced hikers make these packing errors. Here’s how to avoid them:
- Top-heavy packing: Creates instability and strain on shoulders. Solution: Keep heavier items in the middle zone.
- Items loosely packed: Causes shifting and noise while hiking. Solution: Fill empty spaces with smaller items or clothing.
- Ignoring waterproofing: One rainstorm can soak everything. Solution: Use pack cover and waterproof stuff sacks for critical items.
- Packing without a system: Makes finding gear frustrating. Solution: Use consistent zones and color-coded stuff sacks.
- Hanging items outside: Creates snag hazards and poor balance. Solution: Keep everything inside except trekking poles and water bottles.
- Overpacking “just in case”: Creates unnecessary weight. Solution: Follow the mantra “pack your fears, then remove half.”
Specialized Packing Tips for Different Hikes
Day Hike Packing Strategy
For shorter adventures when you’ll return the same day:
- Use only the middle and top zones
- Focus on essentials: water, snacks, first aid, navigation (check our Solo Camping Checklist for more details)
- Pack a small “emergency kit” with minimal overnight gear
Multi-Day Backpacking Packing Approach
For longer journeys requiring camping:
- Distribute weight more carefully for long-term comfort
- Organize by daily needs vs. camp-only gear
- Consider food weight reduction as days progress
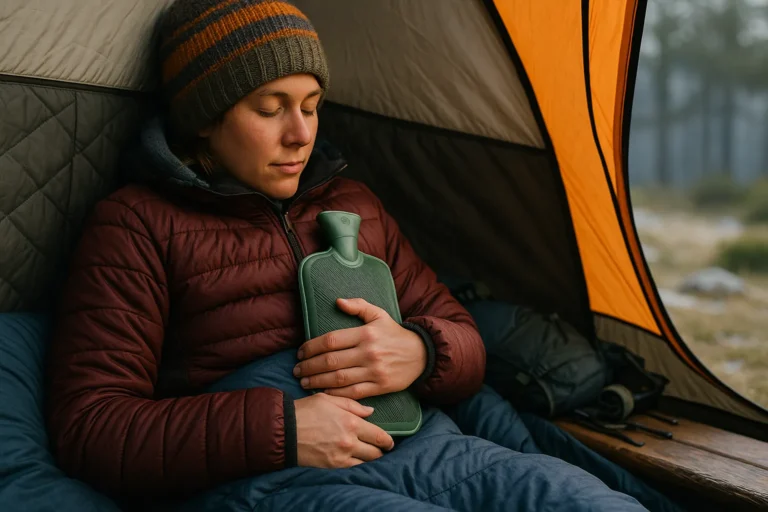
Winter Backpack Packing Considerations
Cold weather requires special attention:
- Keep fuel and electronics in middle zone away from extreme cold
- Store water bottles upside down to prevent the openings from freezing
- Pack additional insulating layers around the perimeter of the main compartment
Conclusion: The Art of Efficient Backpack Packing
A well-packed backpack isn’t just about organization—it fundamentally changes your hiking experience. With smart packing techniques, you’ll hike farther with less fatigue, find gear quickly, and maintain better balance on challenging terrain.
Remember these principles:
- Bottom for bulk
- Middle for weight
- Top for access
- Outside for utility
Master this system once, and every trip after becomes easier, faster, and more enjoyable. The best backpacking setup is ultimately the one that works for your specific needs and hiking style.
Frequently Asked Questions About Backpack Packing
Q: Should I pack my tent inside or outside my backpack? A: Ideally inside your pack in the middle zone (poles can go outside). This protects the tent and maintains better balance than external carrying.
Q: How much should my packed backpack weigh? A: For comfort, aim for no more than 20% of your body weight for general backpacking, or 25-30% for more technical expeditions.
Q: Where should I pack my water bladder? A: Pack it inside against your back in the middle zone after everything else, then thread the drinking tube through the designated port.
Q: How can I make more space in my backpack? A: Use compression sacks for clothing and sleeping bags, remove excess packaging from food, and choose multi-purpose gear when possible.
Q: Is it better to roll or fold clothes in a backpack? A: Rolling saves space and reduces wrinkles, but for maximum efficiency, consider bundle packing or using packing cubes designed for backpacks.
Q: What items should I keep most accessible? A: Water, snacks, navigation tools, rain gear, sunscreen, and first aid kit should always be quickly accessible without removing your pack.
Q: How can I keep my backpack dry in the rain? A: Use both a waterproof pack cover and line the inside of your pack with a heavy-duty trash bag or pack liner for double protection.
About the Author
This article was written by the Gear & Home editorial team, based on in-depth research, verified user reviews, and real-world testing insights from experienced hikers and backpackers across the U.S.
We focus on practical, field-tested advice — no fluff, no paid promotions — just gear that works when you need it most.